Quick Links Visit the Azure Free Account Signup Unity Catalog Account Creation Process How to Connect Azure SQL Database Once you’ve created …
Are you ready to start your cloud journey but don’t want to spend money upfront?
In this guide, you’ll learn how to create a Microsoft Azure free account in 2025, with step-by-step instructions that even beginners can follow. Whether you’re a student, developer, data engineer, or tech enthusiast, this tutorial will help you set up your Azure free tier account in under 10 minutes.
$200 in free credits valid for 30 days
12 months free on popular services like VMs, Azure SQL, and Storage
Access to over 55+ services in the Azure Free Tier (always free)
Perfect for learning Azure Data Engineering, DevOps, AI, and Power Platform
✅ No hidden charges — Microsoft asks for a credit/debit card for identity verification only.
💡 After the trial ends, your account won’t be charged unless you manually upgrade.
Please find below the step-by-step instructions to create your free Azure account, including screenshots and helpful tips.
Open the link below and click on “Try Azure for Free”:
👉 https://azure.microsoft.com/en-us/pricing/purchase-options/azure-account/
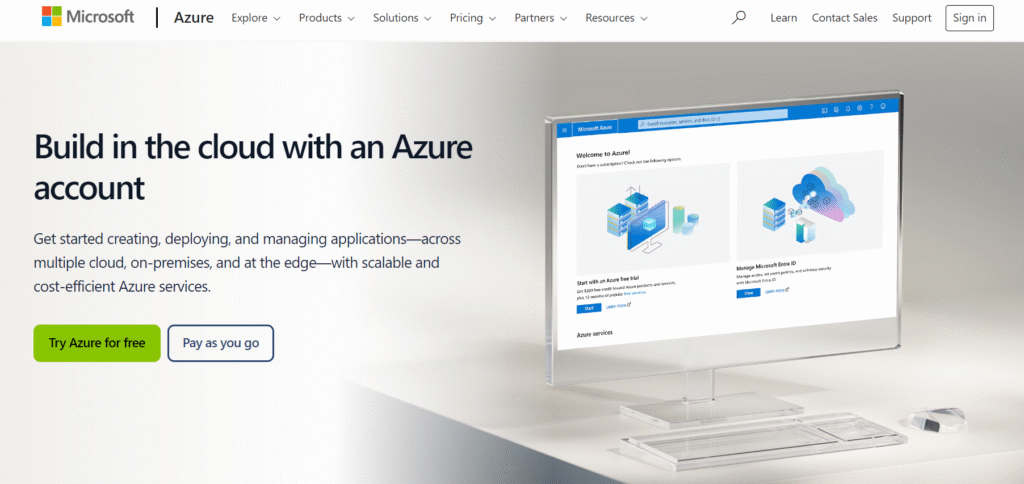
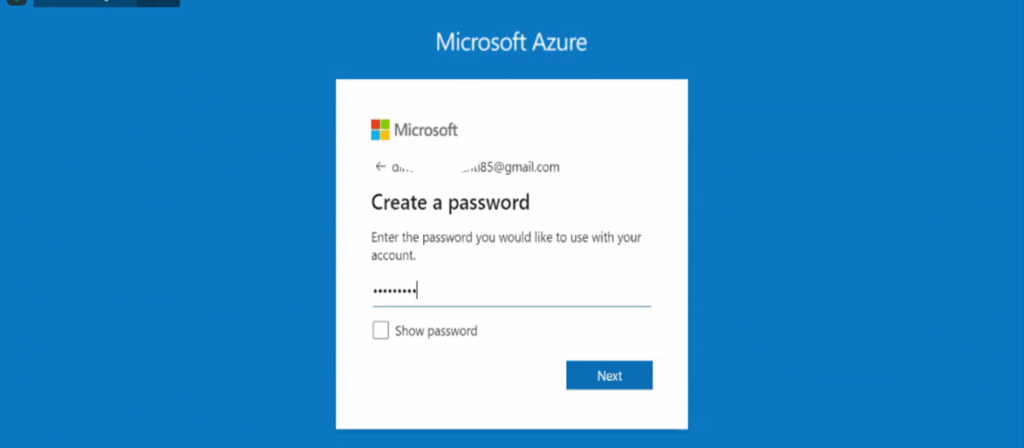
Enter the new Gmail ID and password of your choice as shown in the screenshot.

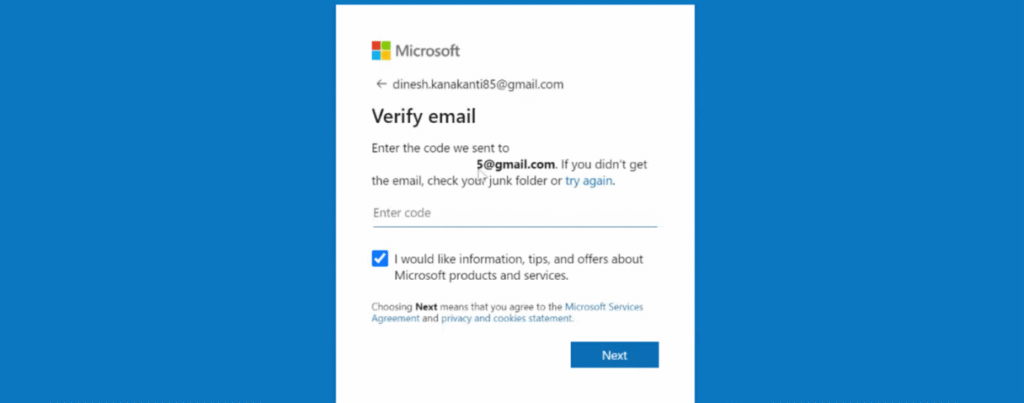
Check your inbox and enter the code sent to your email to verify the account.
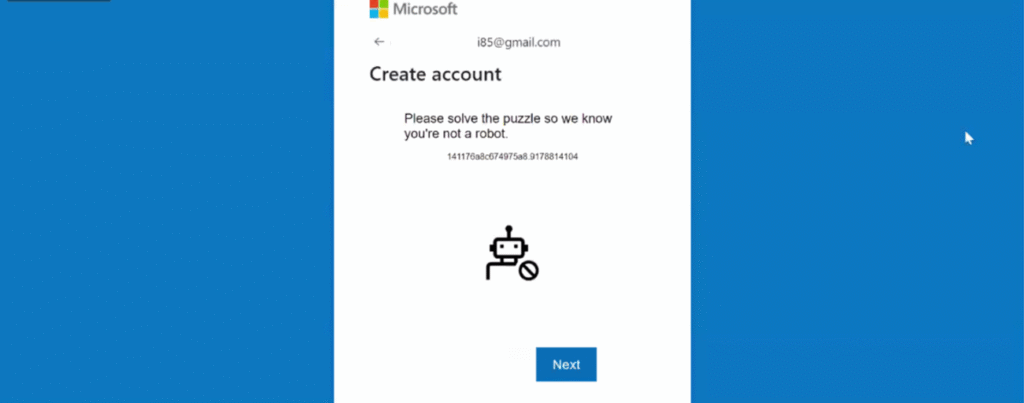
Solve the puzzle (Captcha) as shown in the screenshot to proceed.

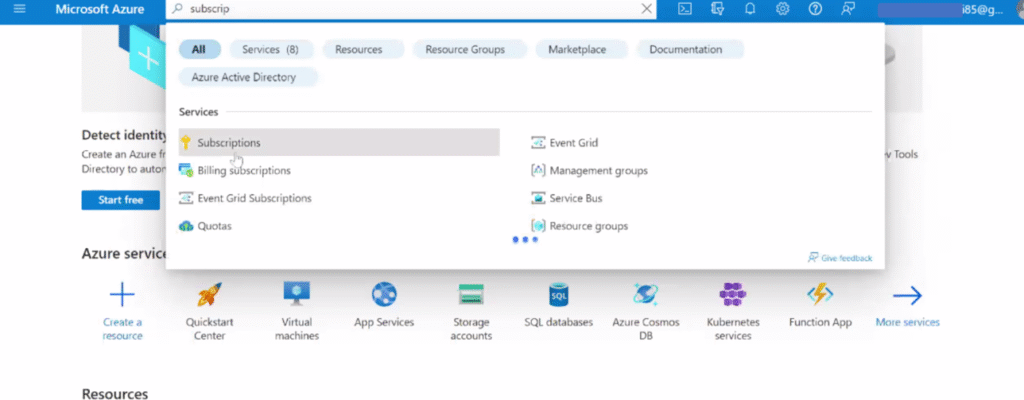
Once inside the portal, use the search bar and type “Subscription”, as shown below.
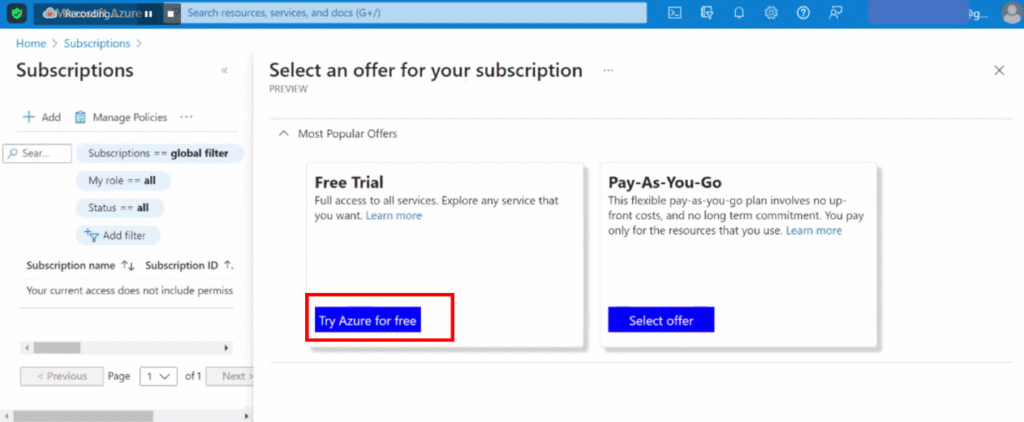
Select the option labeled “Try Azure for Free” to proceed with the free account setup.
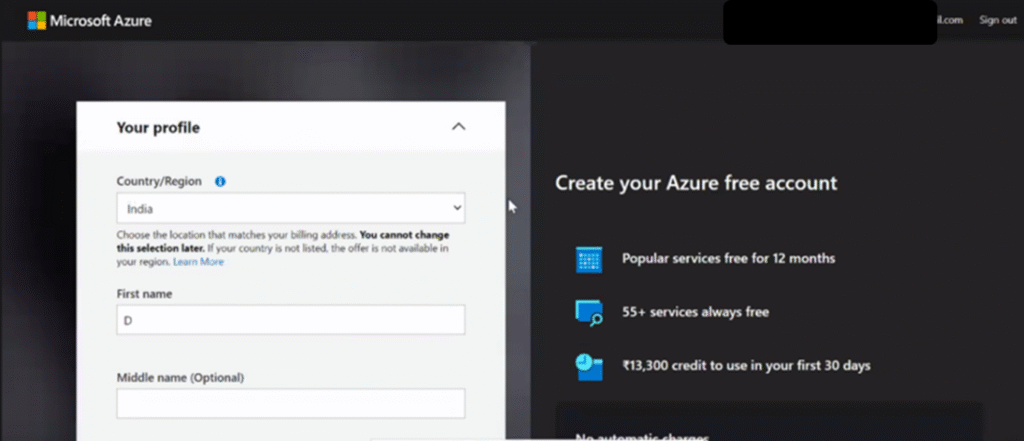
Fill in the required personal details as shown in the reference email or form.
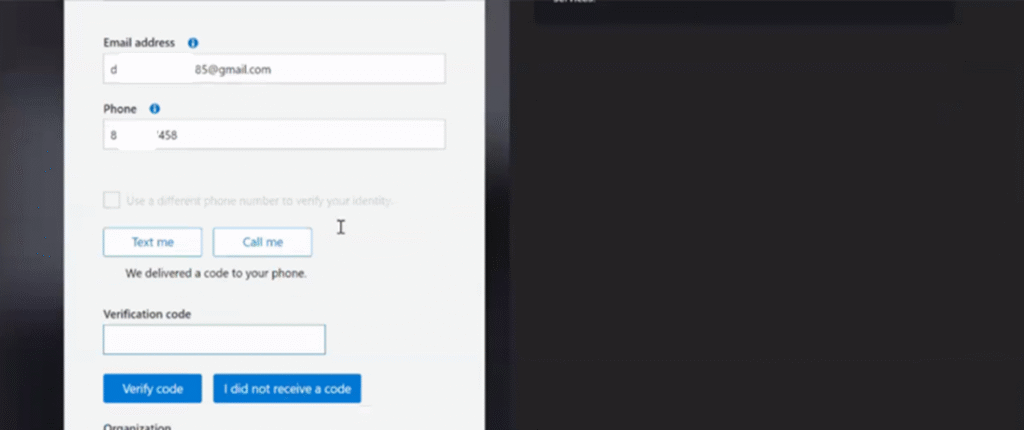
Enter your mobile number and complete the verification via OTP.
Click on “Sign up” and provide your credit card details for verification.

You will be charged a refundable amount of ₹2 to verify your card.
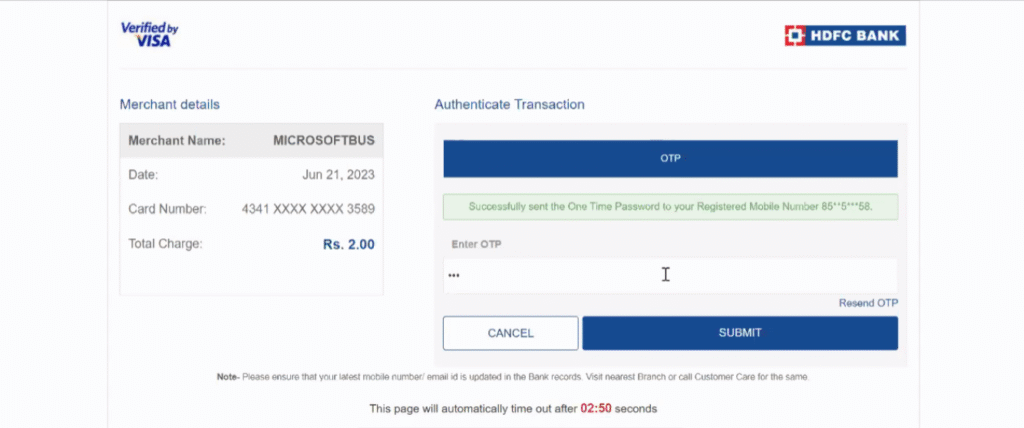
Once verification is complete, visit 👉 https://portal.azure.com/
You’re now ready to start exploring Microsoft Azure services.
Quick Links Visit the Azure Free Account Signup Unity Catalog Account Creation Process How to Connect Azure SQL Database Once you’ve created …
Quick Links Visit the Azure Free Account Signup Unity Catalog Account Creation Process How to Setup Azure SQL Database – Step-by-Step Guide …
Quick Links Visit the Azure Free Account Signup Unity Catalog Account Creation Process Step 1: Visit the Azure Free Account Signup Page …
Quick Links Visit the Azure Free Account Signup Unity Catalog Account Creation Process How to Setup Unity Catalog Account – Step-by-Step Guide …
Quick Links Visit the Azure Free Account Signup Unity Catalog Account Creation Process How to Create a Free Azure Account – Step-by-Step …

Simple Guru IT Training Academy is an educational institution that provides specialized training in Information Technology (IT).
Copyright 2025© Simple Guru | Designed by Web Rocz
WhatsApp us